Introduction
There's almost no limit to what you can do in Photoshop, but first you'll need to learn the fundamentals. We're going to talk about some of the most basic image adjustments you can make in Photoshop, including:
- Cropping: If you want to remove parts of an image, you can crop it. You can think of cropping like using a pair of scissors to cut out the parts you no longer want.
- Resizing: If you want to make an image smaller or larger, you can resizeit. However, keep in mind that making an image larger than its original size generally does not look good.
- Rotating: If you want to change the orientation of an image, you can rotate it to the left or right.
Cropping
There are two main ways to crop an image in Photoshop. You can either use the Crop tool or make a selection with the Rectangular Marquee tool. These methods work a bit differently, and you may find that you prefer using one method over the other.To crop an image (Method 1):
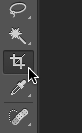
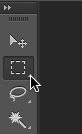
- With the image open in Photoshop, select the Crop tool from the Toolspanel.
- Click and drag to select the part of the image you wish to keep, then release the mouse.
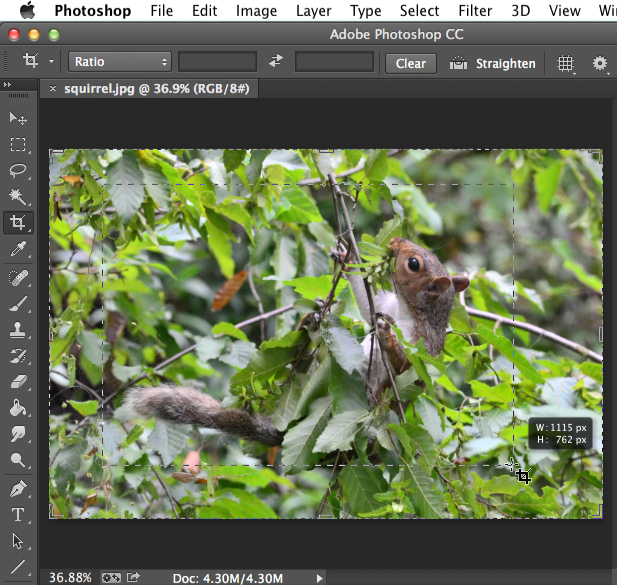
- Adjust the cropping handles if necessary.
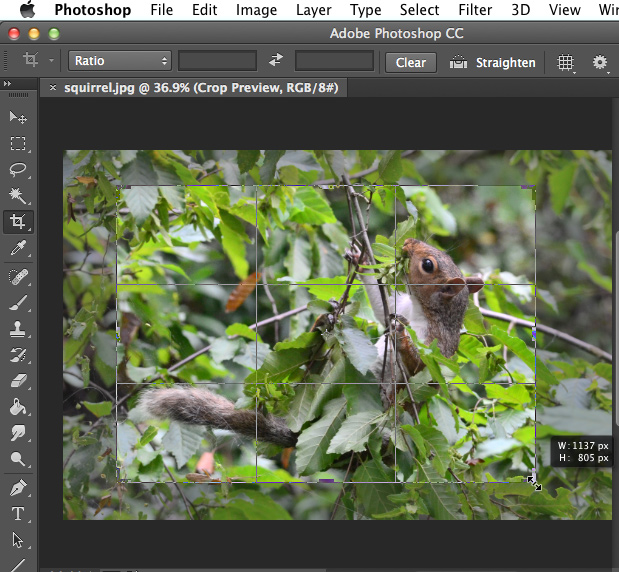
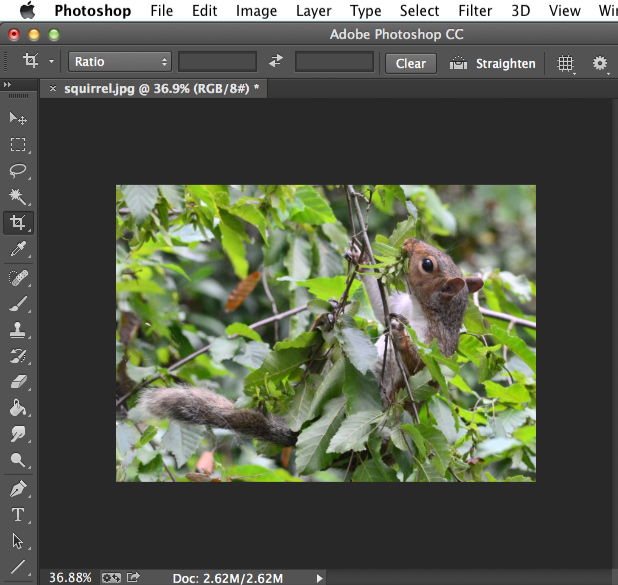
- Press Enter on your keyboard to crop the image. Alternatively, you can double-click the image.
To crop an image (Method 2):
- With the image open in Photoshop, select the Crop tool from the Toolspanel.
- With the image open in Photoshop, choose the Rectangular Marquee tool from the Tools panel.
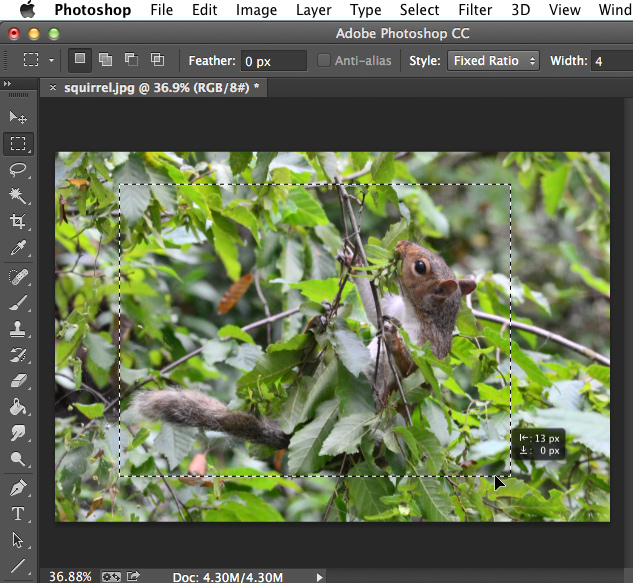
- In the Control panel, locate the Styledrop-down menu (also called Mode in some versions). If you want the image to be a specific aspect ratio, select Fixed Ratio and type the desired width and height. Otherwise, make sure the Style is set to Normal. In this example, we'll crop the image to a 4-by-3 aspect ratio.

- Click and drag to select the part of the image you wish to keep, then release the mouse.

- If needed, you can click the edge of the selection box and move it to the desired position.
- Select Image
 Crop. The image will be cropped.
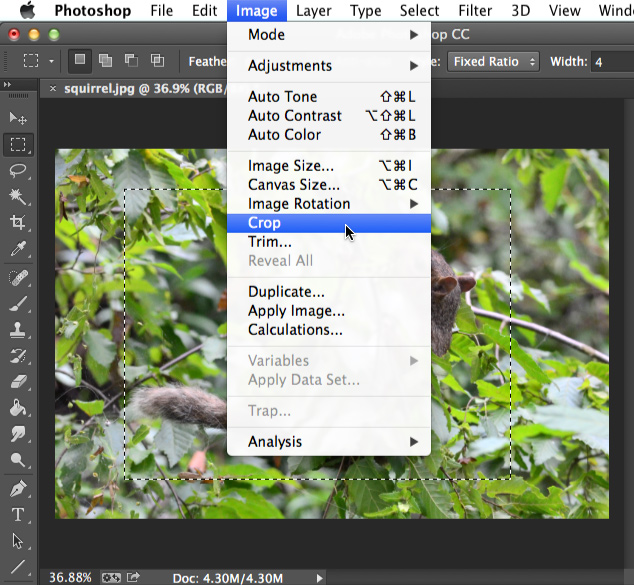 You can also move the entire selection box while making a selection. To do this, click and drag to select the area you wish to select, but do not release the mouse. Next, press and hold the space bar on your keyboard and move the mouse to move the selection box to a new location. When you're done, release the Space bar.
Resizing and rotating
To resize an image:You should avoid making images larger than their original size. When you do this, the image simply won't have enough detail to look good at the larger size. You can review Image Editing 101 to learn more.
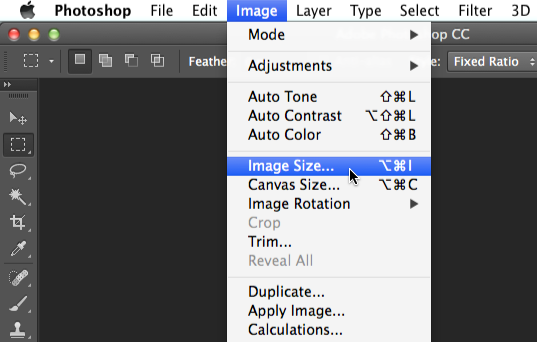
- With the image open in Photoshop, select ImageImage Size.
- A dialog box will appear. Make sure Pixels are the currently selected unit size and that the Resample box is checked. The Lock icon next to the Width and Height should also be turned on, which will ensure that the aspect ratio stays the same to avoid distorting the image.
- Type the desired dimensions for the new image. When you enter the new image width, the height should be adjusted automatically to maintain the original aspect ratio.
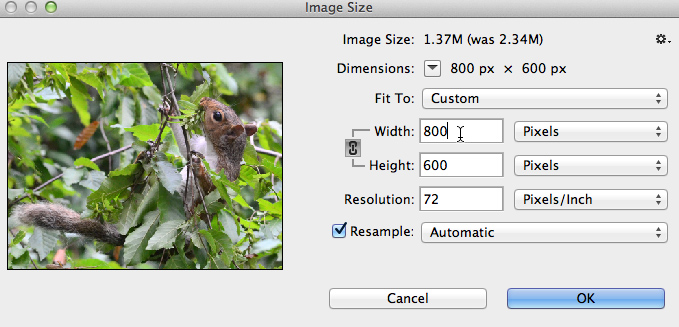
- Click OK. The image will be resized.
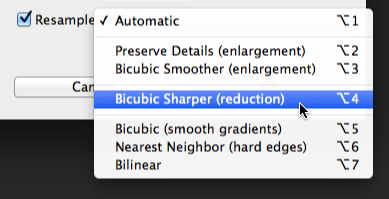
- If there is no Automatic option available from the Resample menu, we recommend choosing one of the bicubic resizing modes; these modes will give the best results in most situations.
- With the image open in Photoshop, select Image
To rotate an image:
It's easy to rotate an image in Photoshop. You can rotate images clockwise (CW) or counter-clockwise (CCW), flip the image horizontally or vertically, and even rotate by an arbitraryamount to choose a specific rotation. However, most modern digital cameras will adjust the rotation of images automatically, so you may not need to use this feature very often.
- With the image open in Photoshop, select ImageImage Rotation, then select the desired rotation option.
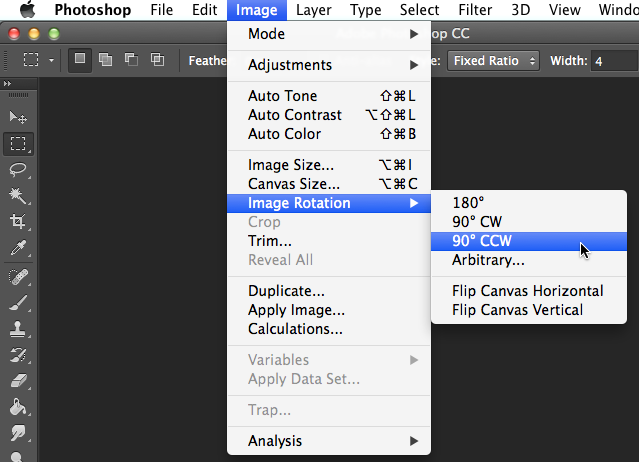
- The image will be rotated.
Undoing changes
In Photoshop, undoing works a bit differently from most other applications. You can press Ctrl+Z (or Command+Z on a Mac) to undo your most recent change. However, if you press Ctrl+Z again, the change will be redone. If you want to undo several changes in a row, you'll need to select EditStep Backward or press Ctrl+Alt+Z(Command+Option+Z on a Mac).
Step Backward or press Ctrl+Alt+Z(Command+Option+Z on a Mac).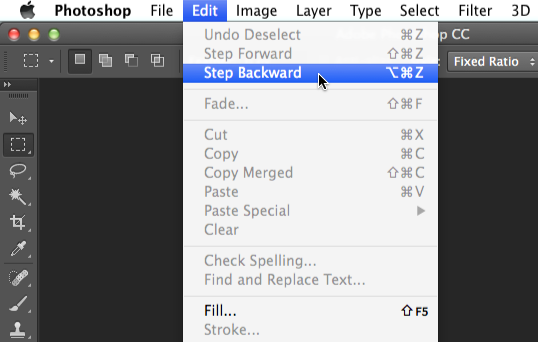
After you've edited an image, you'll want to save a new version of the edited file in order to preserve the changes. This will also prevent you from accidentally overwriting your original image file. There are many different ways to save files in Photoshop, which we'll discuss in detail in the next lesson.
Comments
Post a Comment